EXTEND YOUR SHADE
With Australia’s next generation of 4WD freestanding awnings & accessories
D270 & D180 freestanding awning Instructions and Safety Guide
Your new Destination4WD D270 and D180 degree freestanding awning has been custom-built for you from the highest quality Australian materials. Please follow the instructions provided.
FOR SAFETY REASONS WE STRONGLY RECOMMEND USING A QUALIFIED FITTER, TRADESPERSON OR ENGINEERING FIRM TO INSTALL YOUR AWNING.
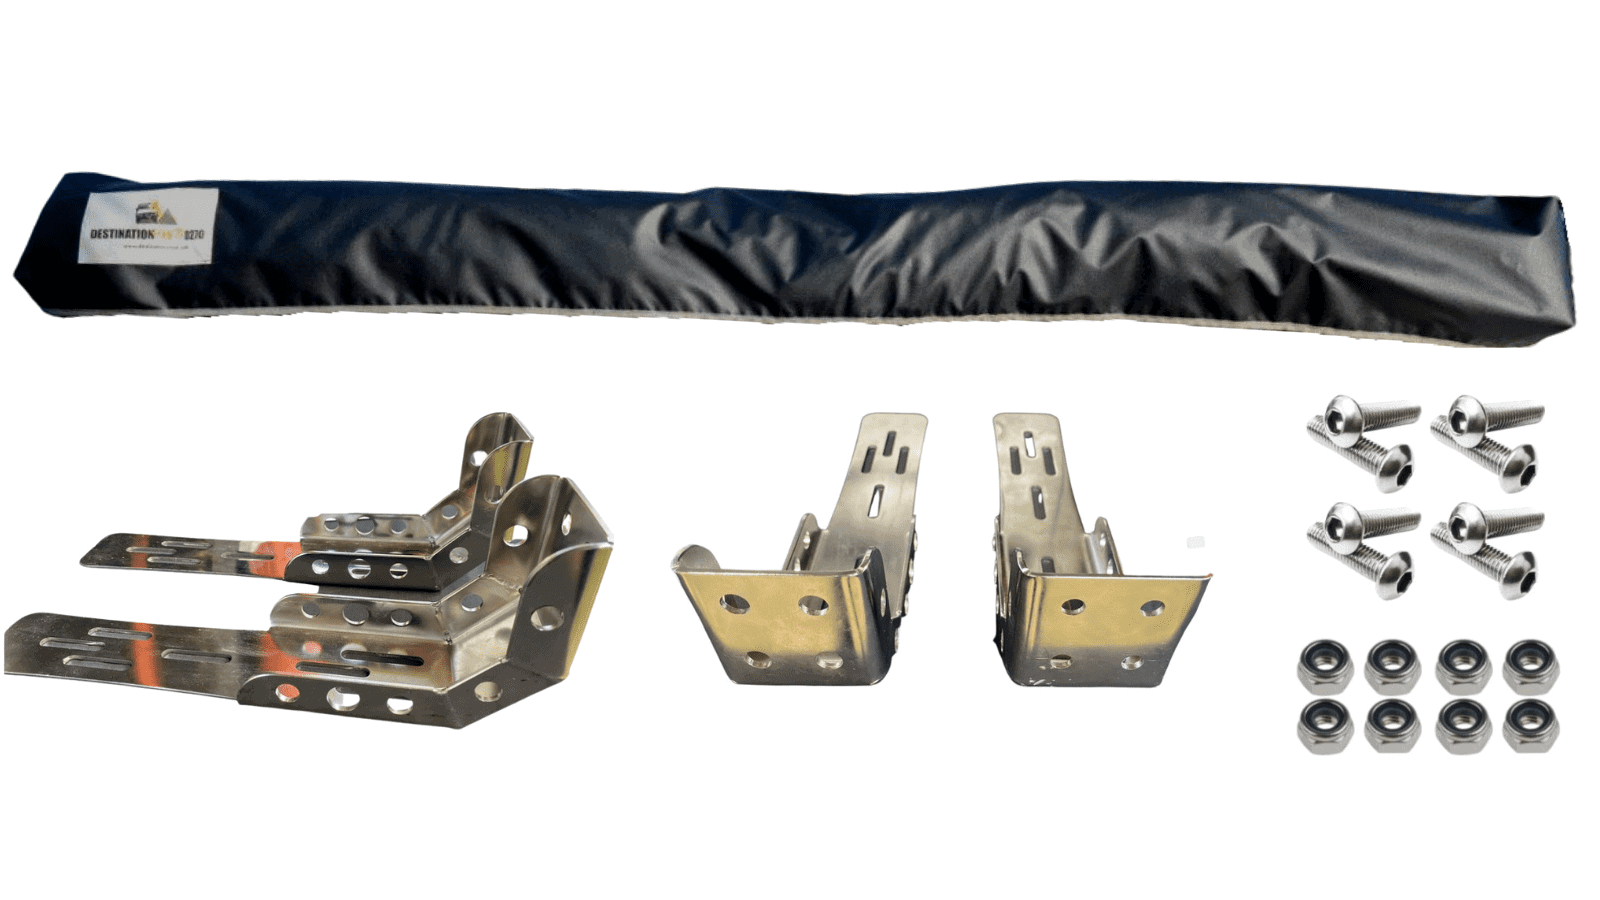
Your freestanding awning contains the following components:
1 x pre-assembled frame and canvas awning
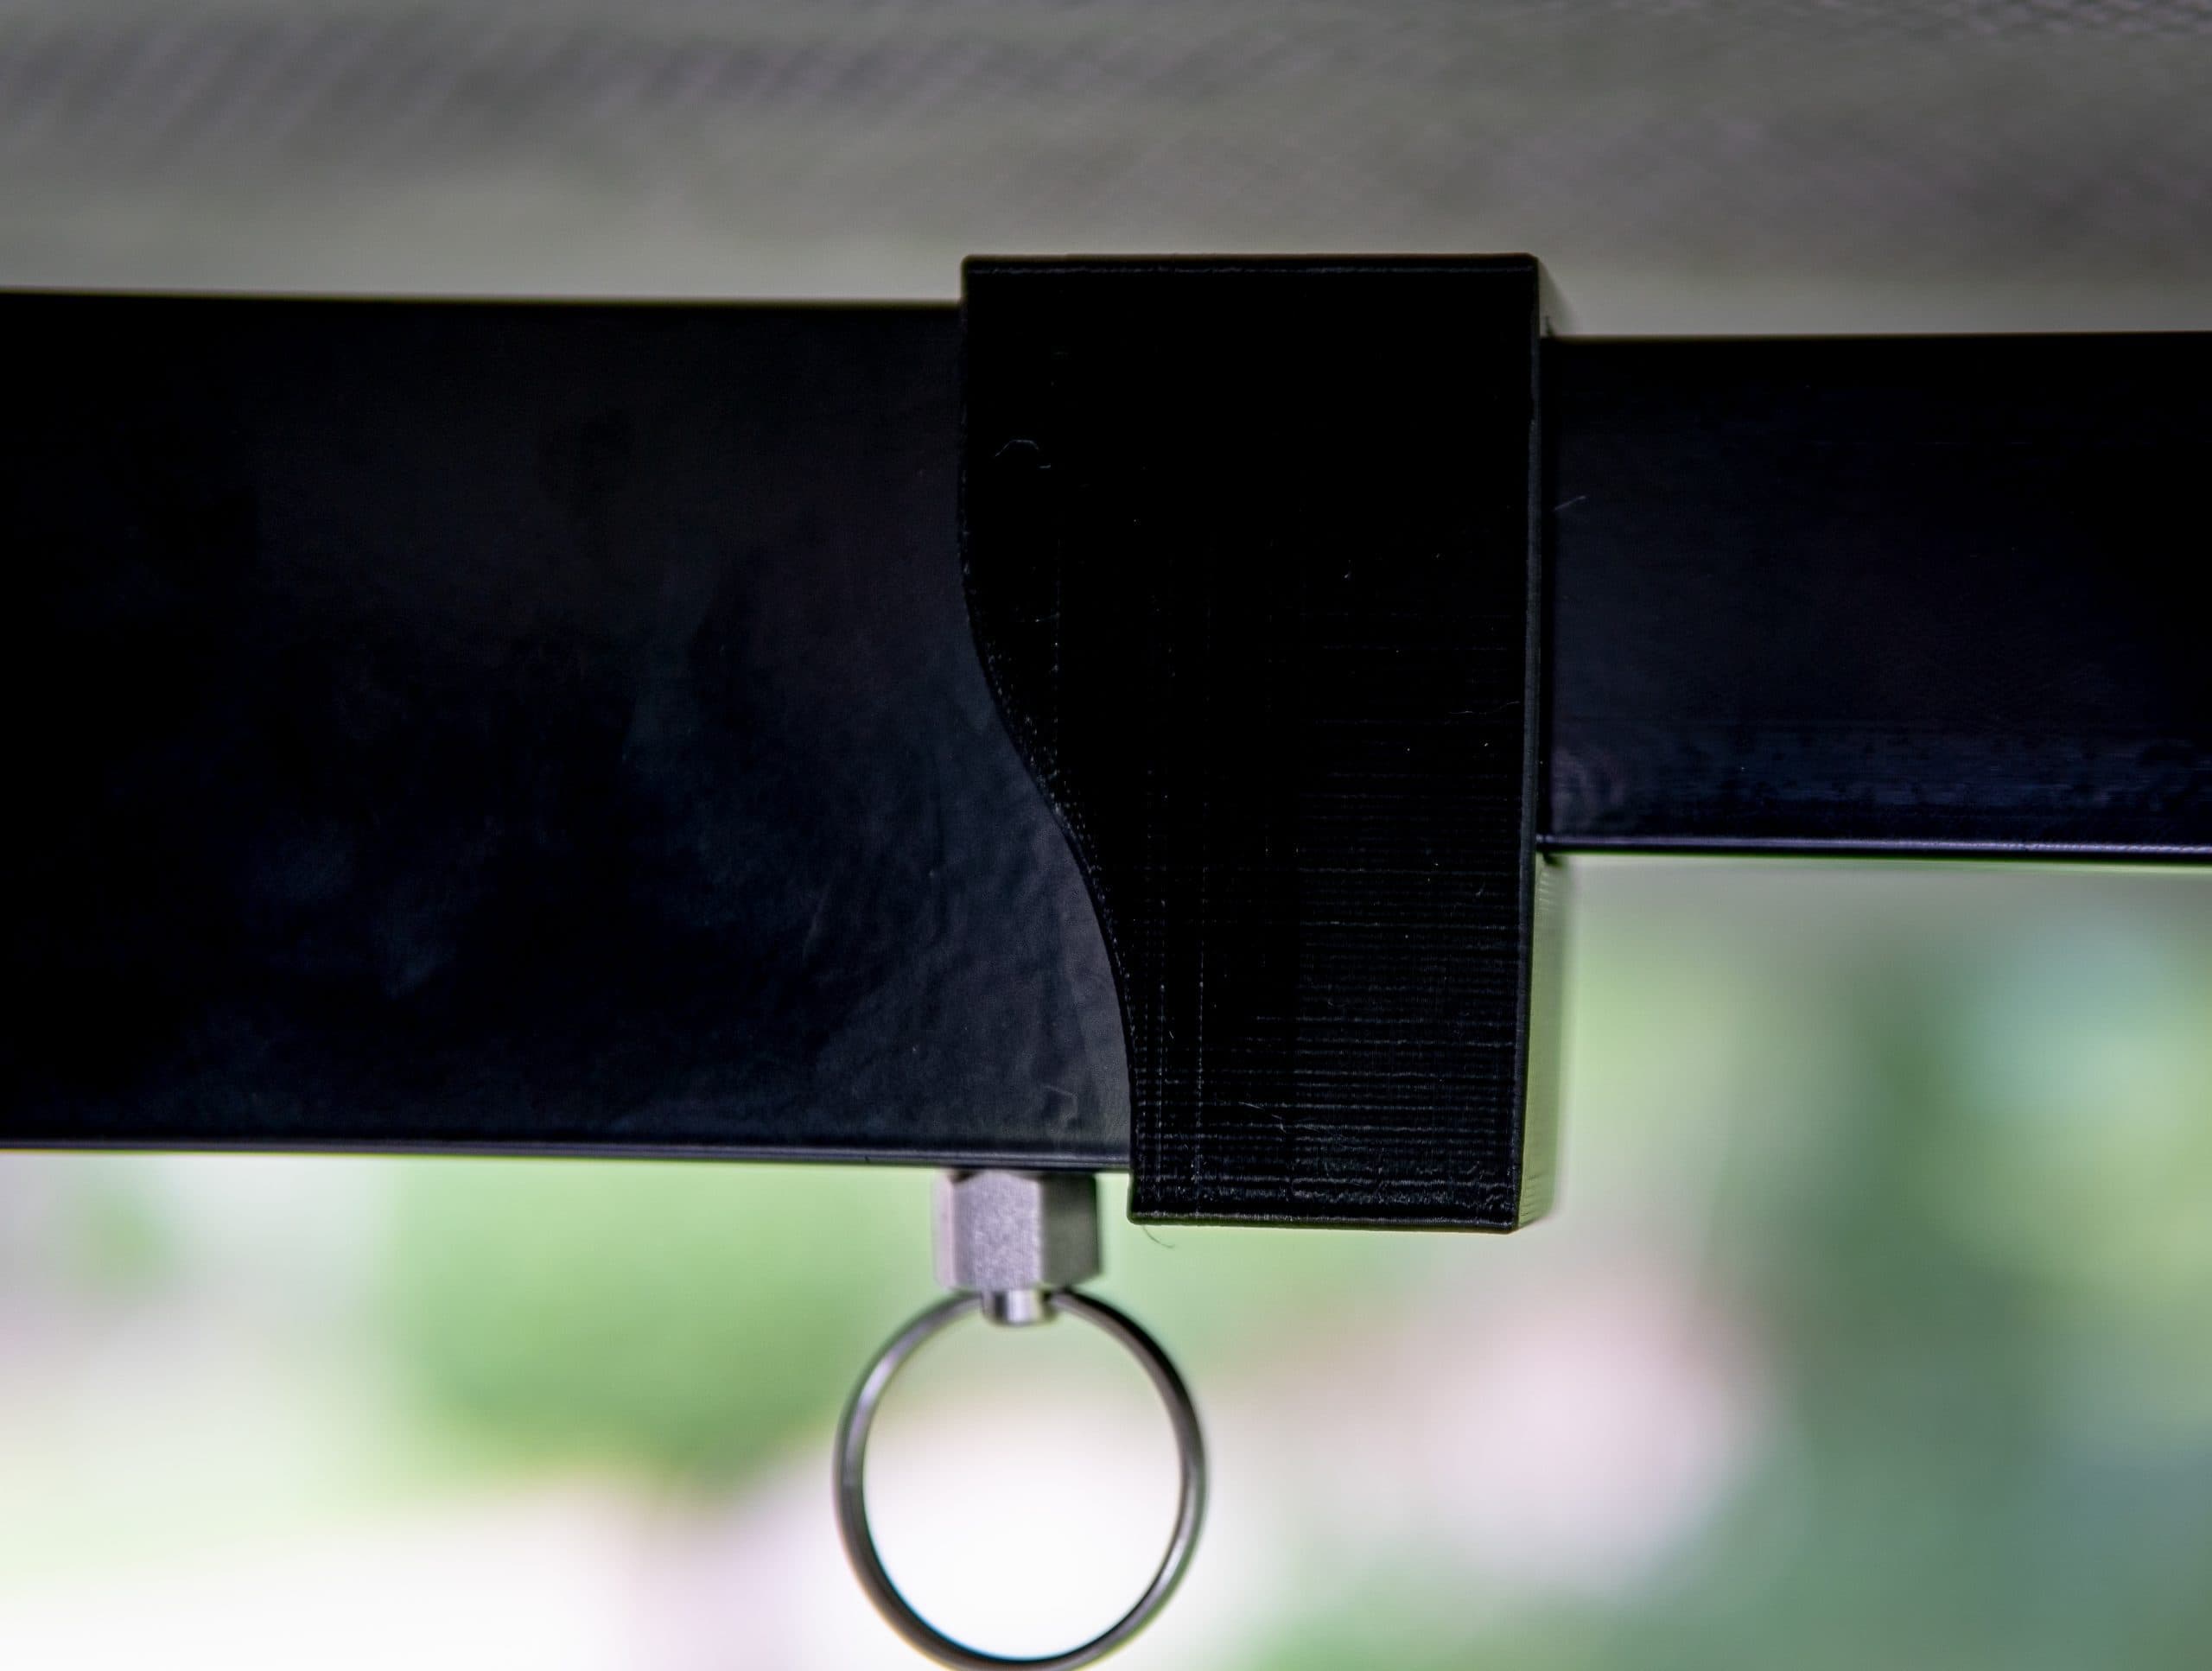
2 x mounting brackets (including 8 x nuts and bolts (dome)
Please note the fixings supplied are to be used to attach the freestanding awning to the mount brackets ONLY. If you have roof rails only please seek professional assistance to mount your awning and make sure it is secure and reinforced. If any other structural fixing is needed to reinforce your roof rack or rails, please contact your local qualified tradesperson or engineering firm.
Installation Instructions
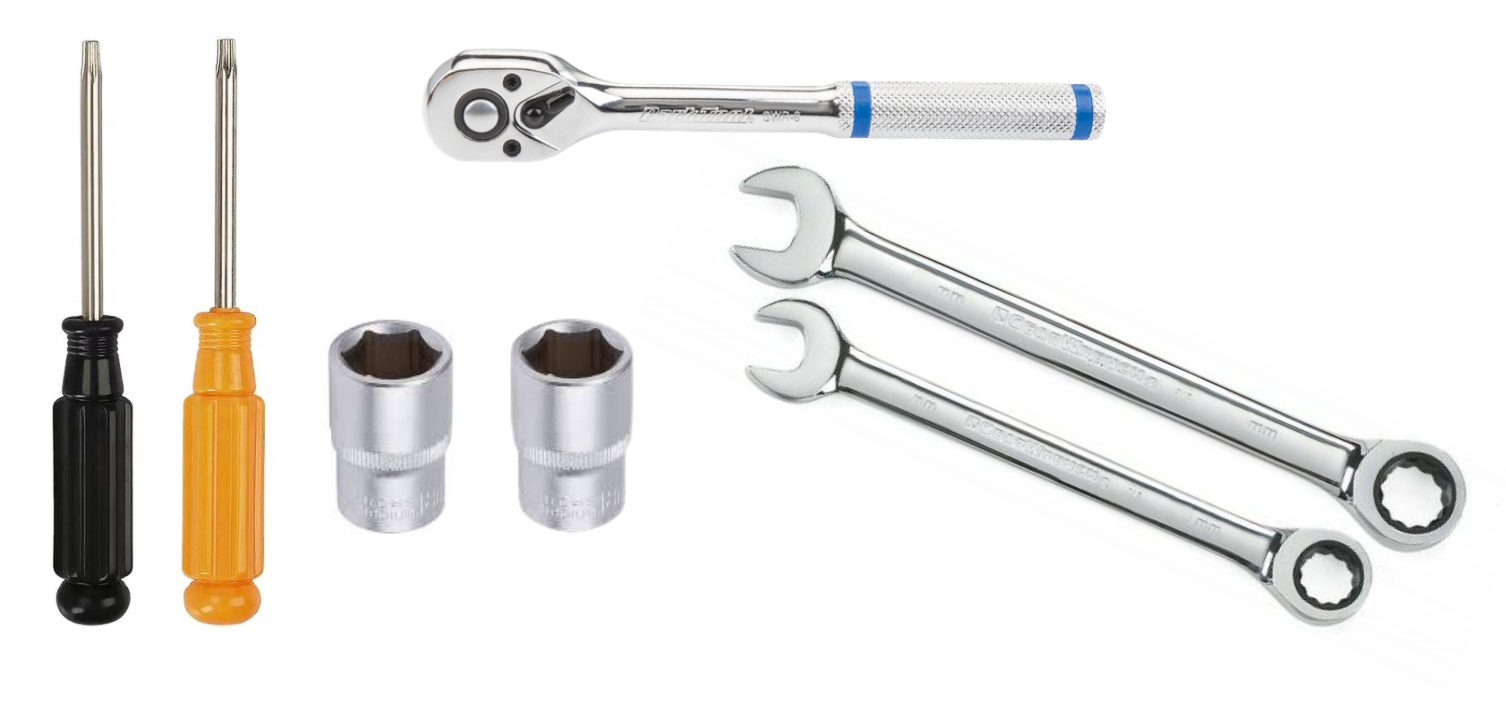
Tools Required (do not use a rattle gun)
- Sockets 13 and 17
- Ratchet
- Starhead screwdrivers
- Spanners 13 and 17
Fitting the awning
Step 1:
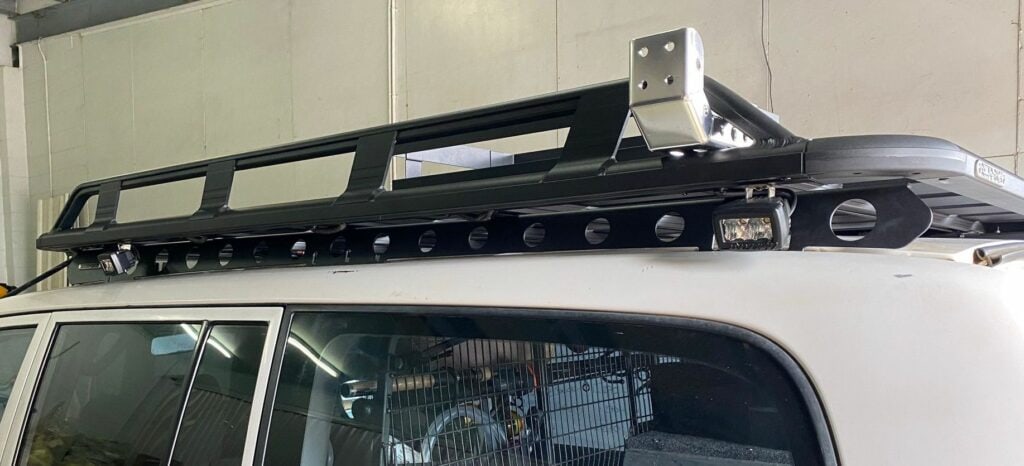
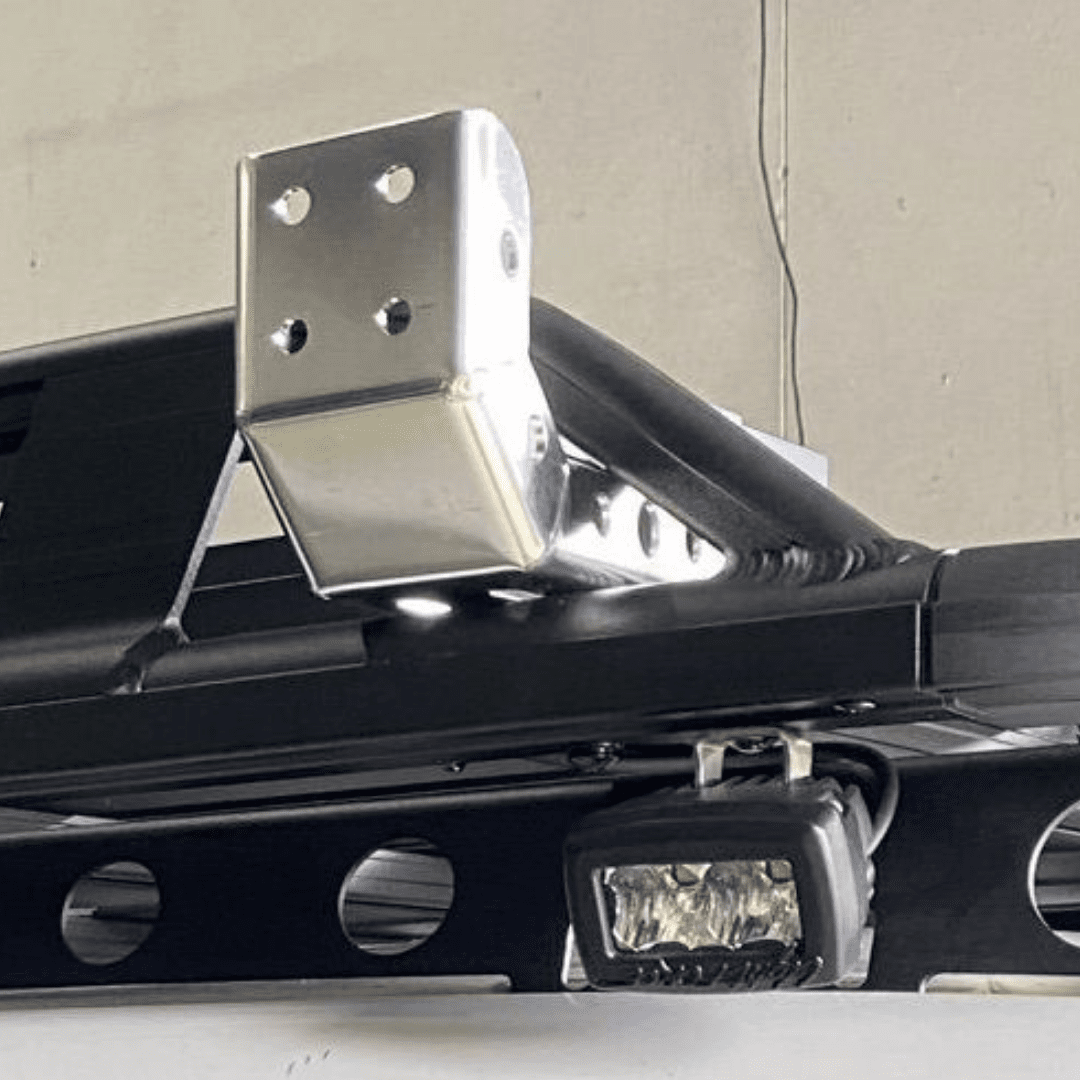
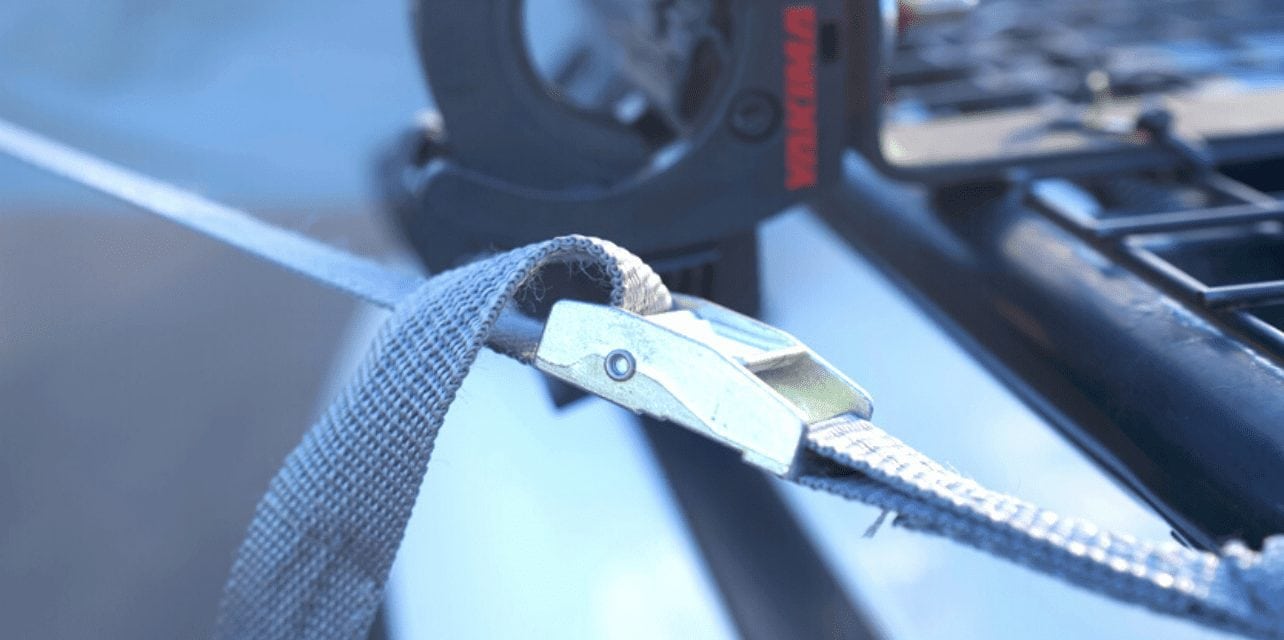
Fix the brackets to the freestanding awning using the holes located in the corners on the back and front of the awning. (The rear bolts are #17 and the front bolts are #13). Then proceed to fit the front end adjusting the mount bracket to the size of your roof rack. Install the brackets on top of the roof rack using the spanners and bolts and tighten the nuts. Front end #13 and back end #17. For best results use a ratchet to tighten. DO NOT USE A RATTLE GUN. See the images below.

To open the awning
Step 2:
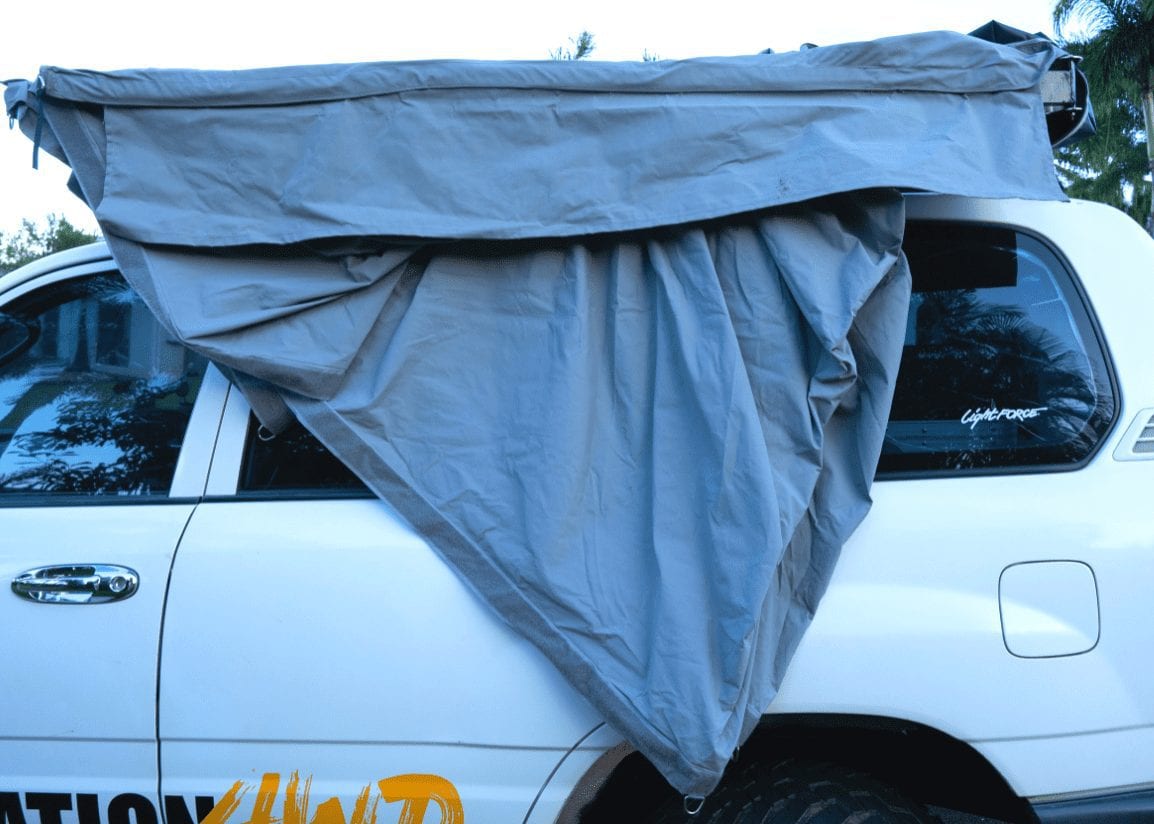
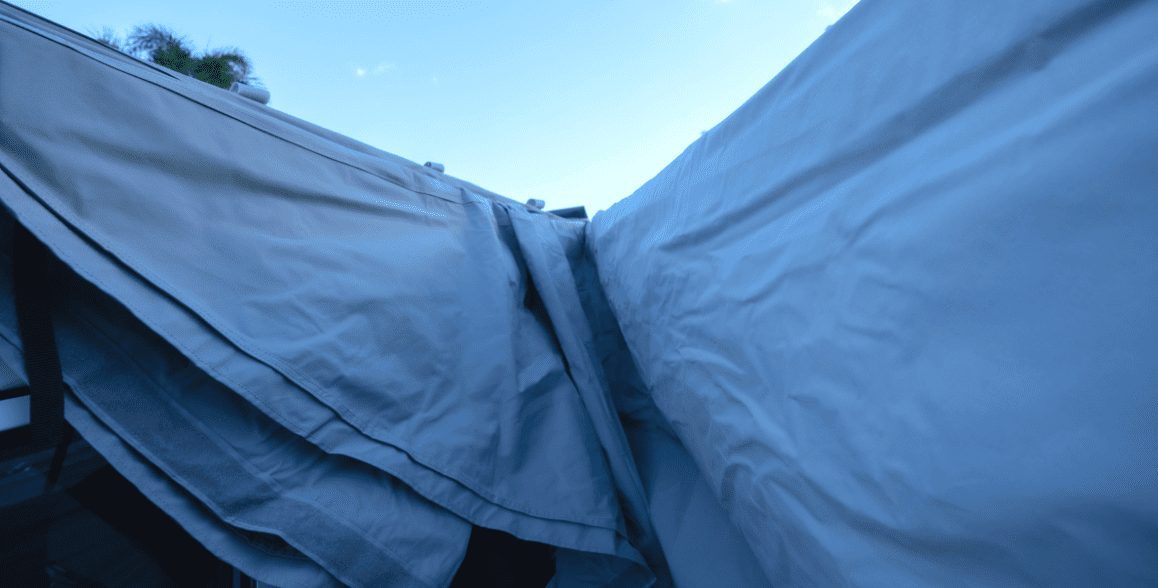
Unzip and open the cover of the awning and let the canvas roll down.
Step 3:
Then pull each arm out away from the base. Do not open the freestanding awning fully yet. Next, slide out the extendable arms located at the end of each arm. Keep pulling each arm gently until you hear a “click” and the awning clips into place (make sure the pin has clicked correctly). Do this for each of the three arms. Do not open the awning fully until each extendable arm has clicked into place.
Step 4:
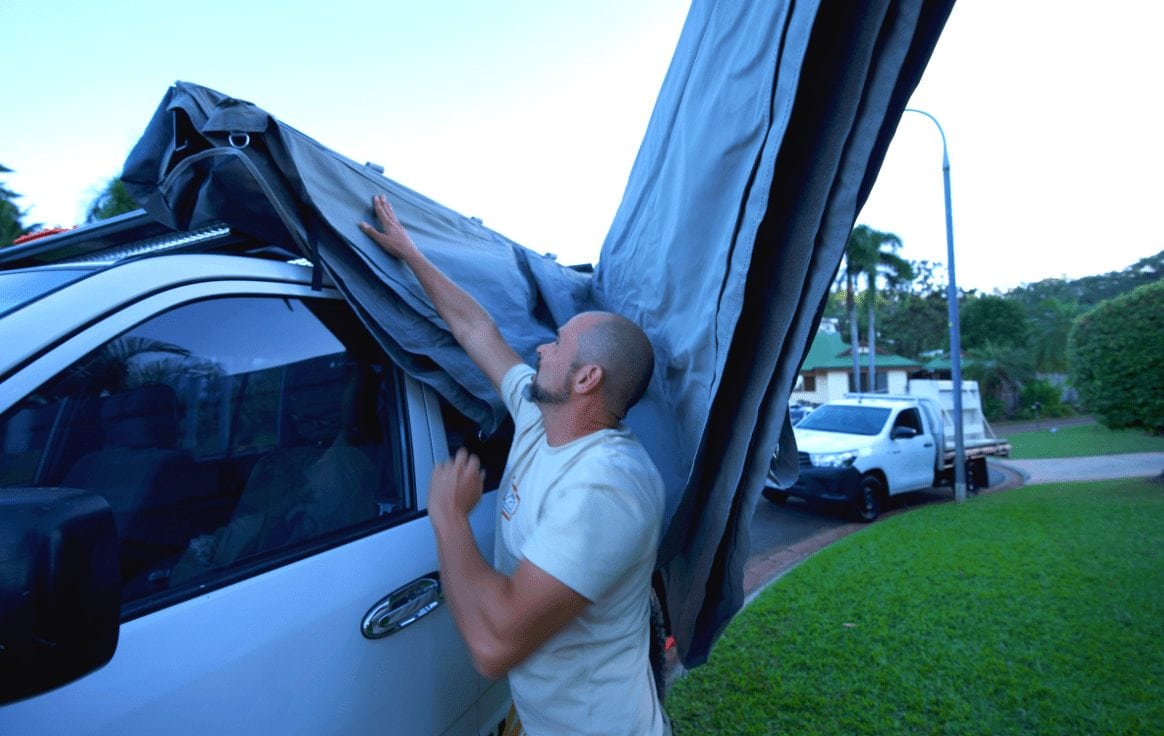
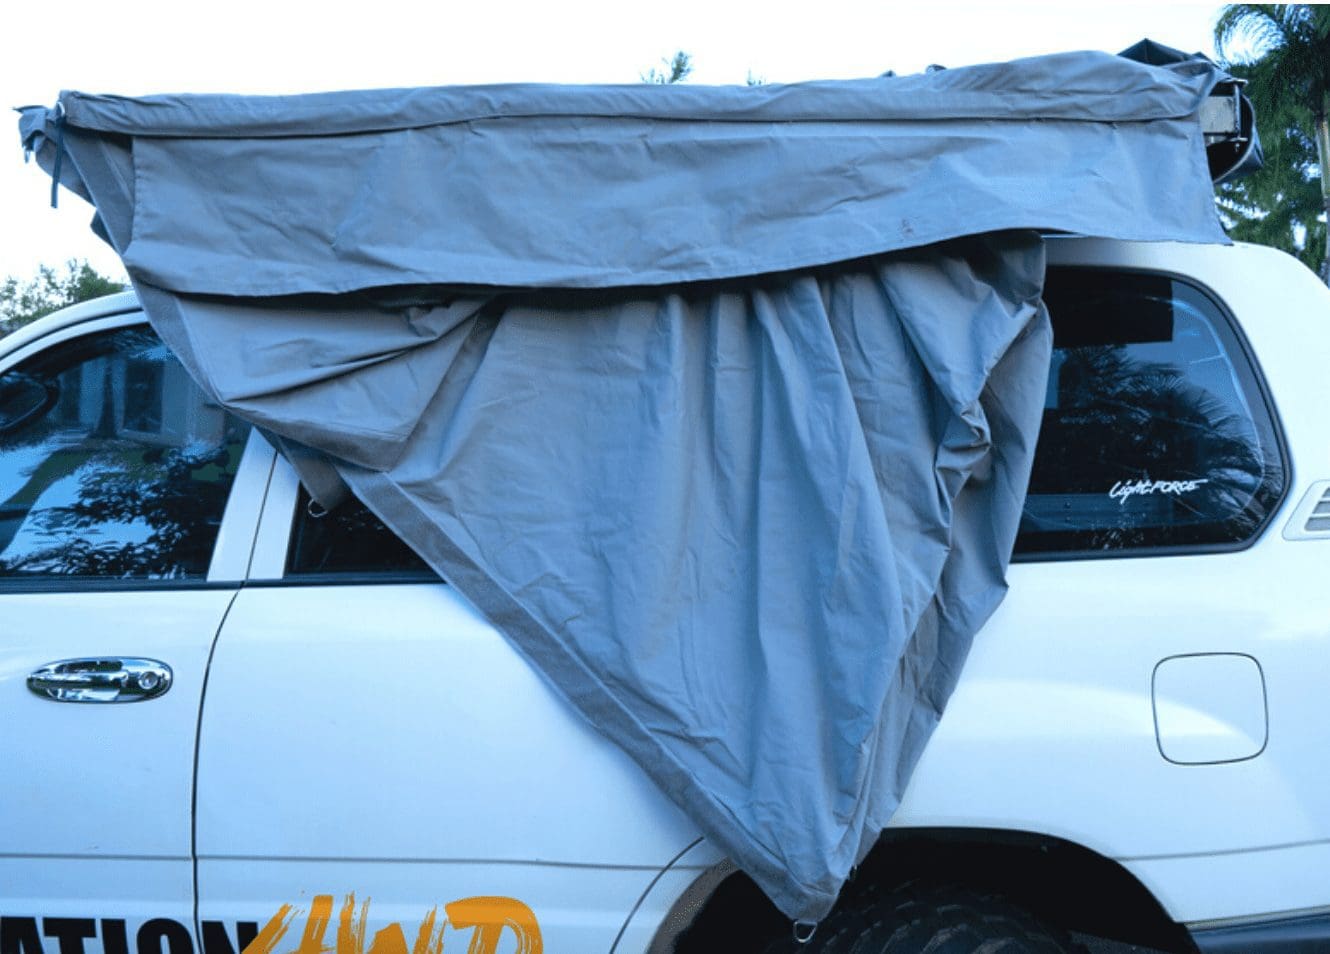
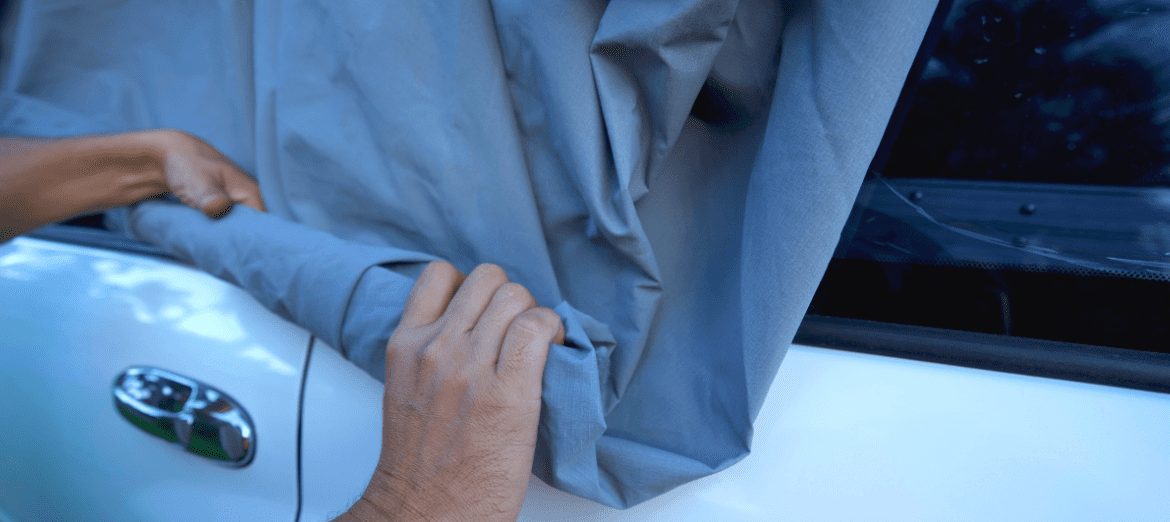
Use the short black strap to walk the awning around to the opposite side of the car.If it is windy, we recommend using 1-2 other people to help you open the awning. There are ties at each pin on each arm for other people to hold on to and walk the awning open around to the other side of the car.If it is extremely windy, do not open the awning or open it at your own risk.Do not open the awning into the wind.

Step 5:
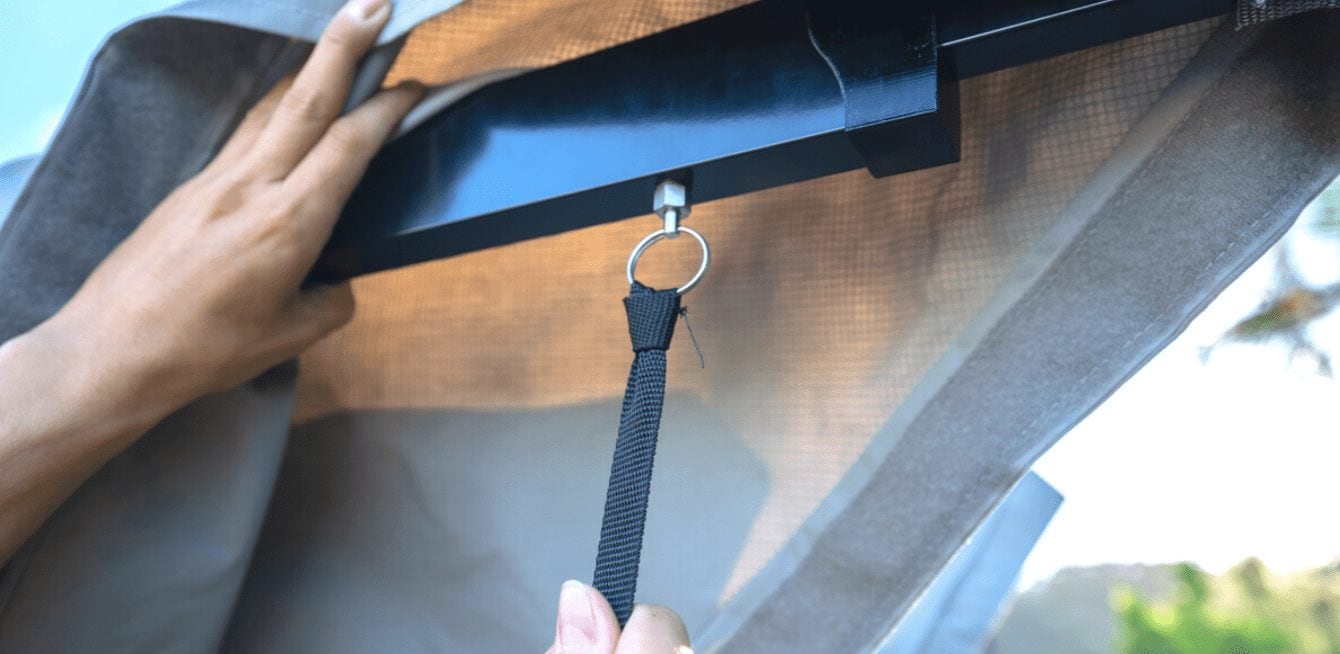
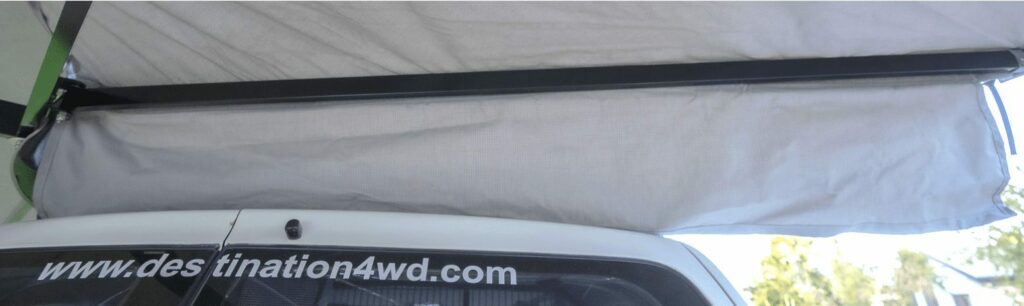
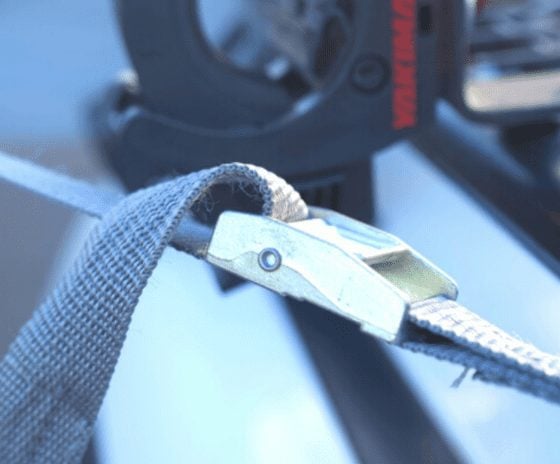
Use the clip on the end of the main long strap on the fourth arm (last and small arm on the rear of the awning) to secure the awning to the roof rack on the opposite side of the car (driver’s side). Pull the strap tight to secure the awning in place so that it doesn’t move and the canvas is taught.
Step 6:
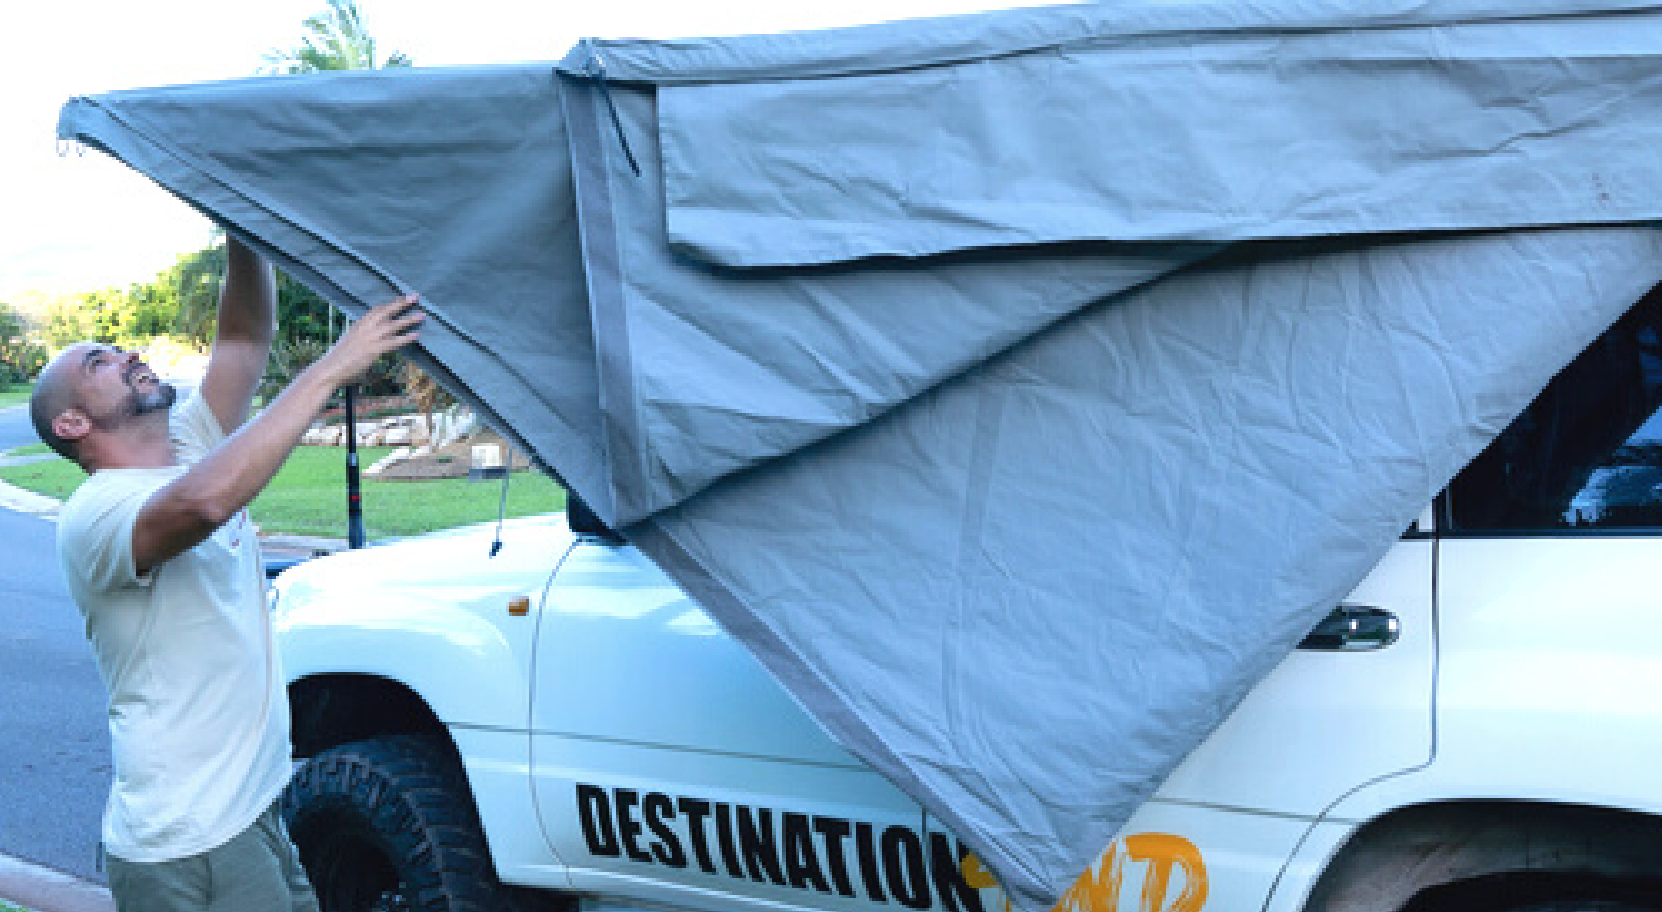
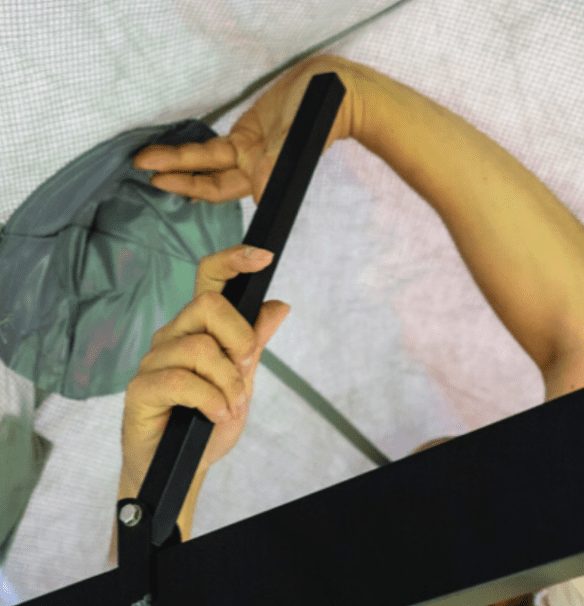
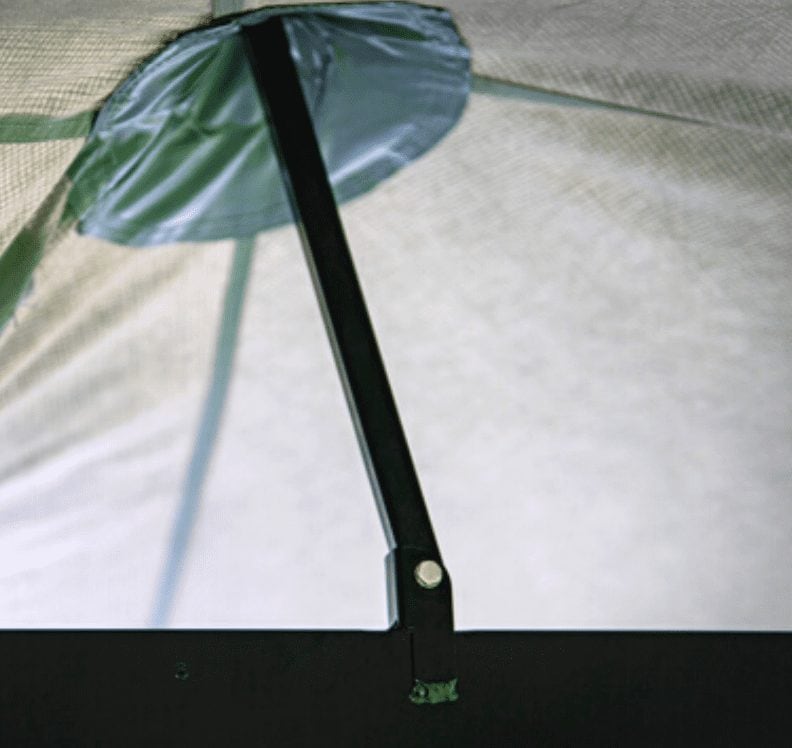
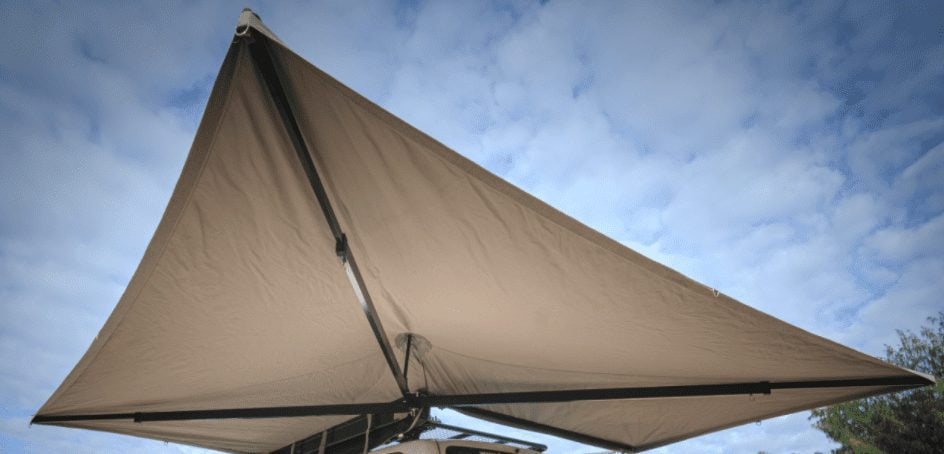
Push up the canvas support “umbrella arm” in the middle of the second arm near the base to create a peak. Lift the canvas and slide the “umbrella arm” up, then let the canvas down. Please note, do not push the “umbrella arm” up unless you have pushed up the canvas as you may do damage to the canvas. See the images to the right.
Step 7:
Attach the “back panel” above the roof (optional). See the image to the right.
Step 8:
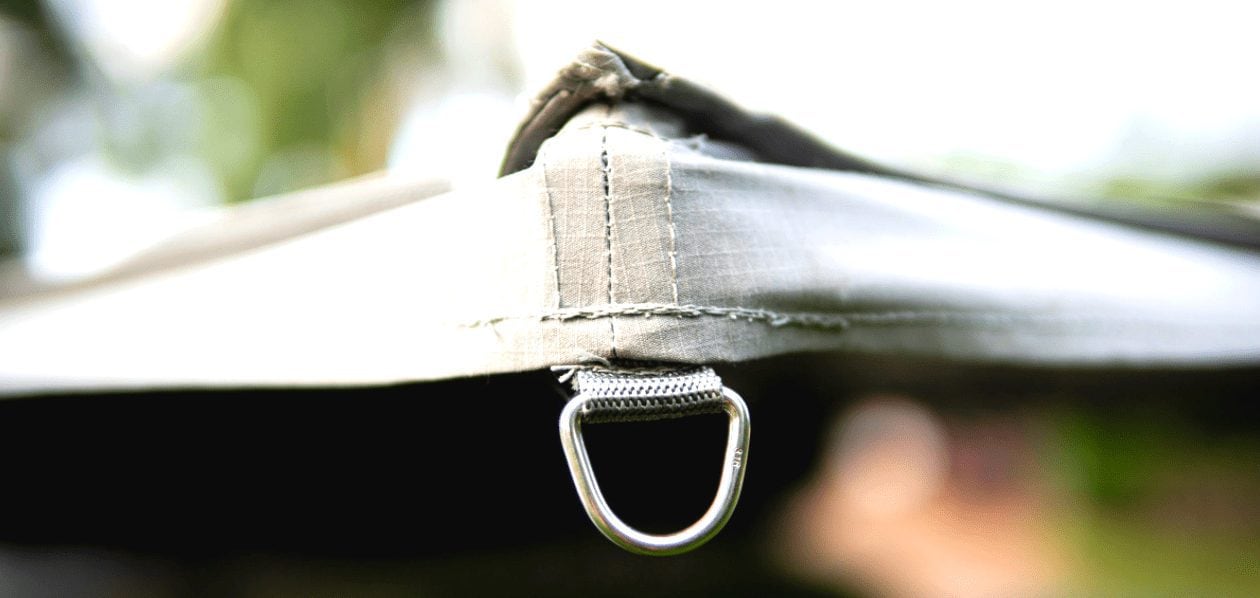
If it is windy, use the D-rings at each corner of the freestanding awning to tie the awning down. Peg the ties into place. See image to the right.
Step 9:
If it is raining, use ties and pegs to pull the canvas down. These can be attached to the D-rings in the middle of each side.
To put the awning away
Step 1:
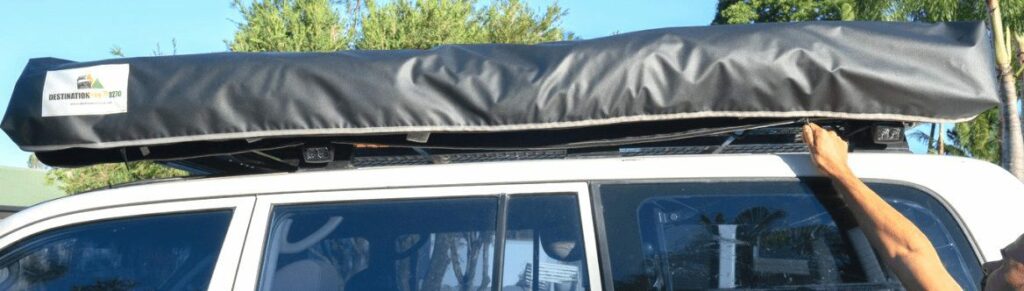
Loosen and unclip the main long strap from the roof rack on the opposite side of the car (driver’s side). See image below.
Step 2:
Lift the canvas up and slide the “umbrella arm” down so it is flush, then let the canvas down. Please note, do not pull the “umbrella arm” down unless you have pushed up the canvas as you may do damage to the canvas. See the image to the right.Walk the awning back around to the passenger side.
Step 3:
Pull down on the stainless steel pin on Arm 3 and slide the extendable arm back into position. You will hear a “click” when it is secure.
Do the same thing for Arms 2 and 1. In that order.
Step 4:
Lift and push the canvas back on top of the arms so it’s not bunched up at one end and it is distributed evenly on the arms. See images below.
Step 5:
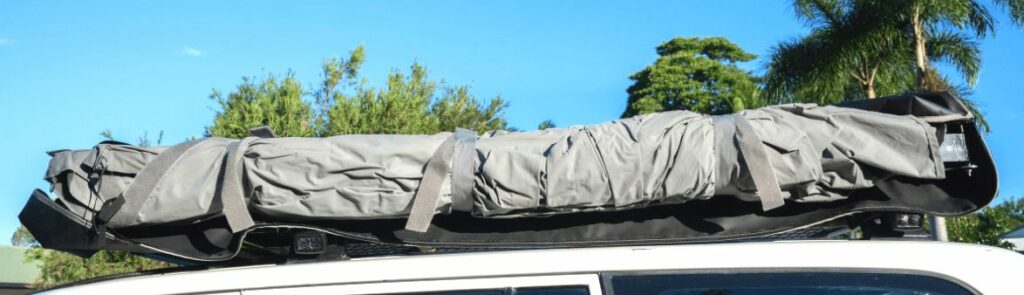
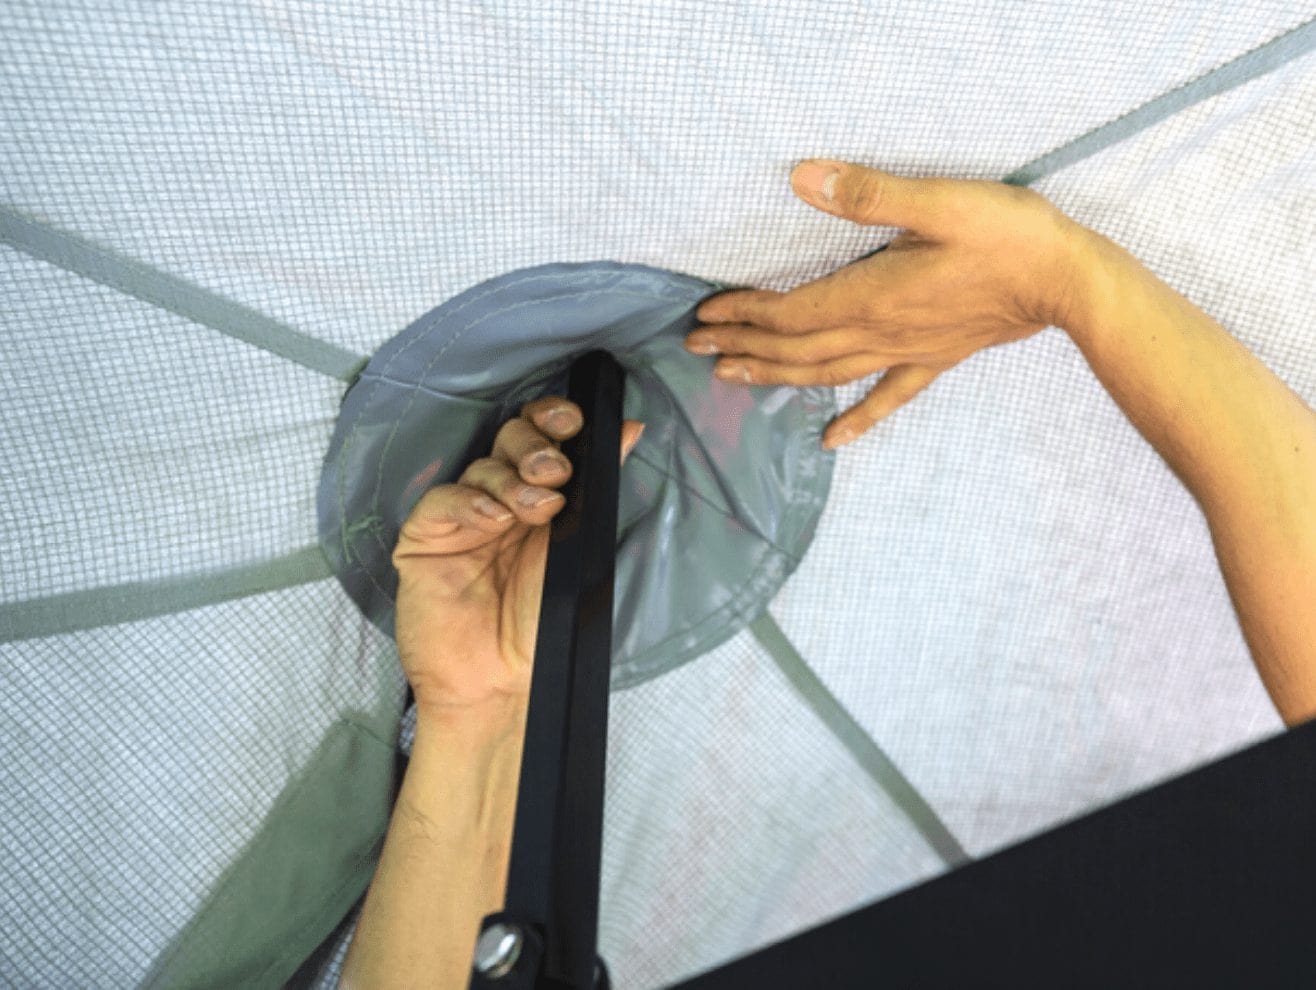
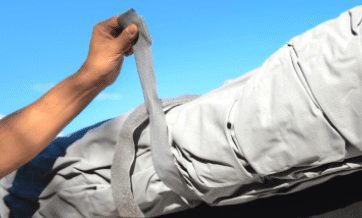
Push all three arms back into the canvas bag, pull the bag out at each side so it doesn’t get caught up when you roll the canvas up. Find the velcro straps on top of the awning and make sure they are not caught up in the arms or canvas.
Step 6:
Neaten up the canvas so it makes a “triangle”. Then tightly roll the canvas up from the bottom in the middle of the triangle to the middle of the top. Secure the middle velcro strap first, then tighten up the canvas on the left side and secure with the velcro strap and then do the right side and secure with the velcro strap. See images to the right.
Step 7:
Make sure the awning is tightly packed and secured with the velcro straps and then fold the top flap of the canvas bag over and zip it up from both sides so the zippers meet in the middle on the bottom side of the freestanding awning.
GENERAL CARE AND OTHER INFORMATION
The freestanding awnings are constructed from weather and UV-resistant, hard-wearing canvas with mould inhibitors, powder-coated aluminium and stainless steel. The awnings can be used for long periods of time, but should not be left open for prolonged periods, for example, months.
The awnings are intended to provide shade from direct sunlight, and harsher elements such as rain and wind. In extreme wind, storms and cyclonic conditions, please make sure the awning is securely tied down or packed away and refrain from using it.
Every 12 months, please check your awning to make sure it is still fastened securely on to your roof rack.
We hope your new D270 degree freestanding awning brings you and your family and friends many years of enjoyment and coverage from the elements. Thank you for your purchase.
Warning
We strongly recommend using a qualified tradesman to fit your freestanding awning to your car. Awnings can become a hazard when they are not fitted correctly and could result in property and/or vehicle damage, personal injury and/or death. It is essential that you fit your awning using the parts supplied with your awning purchase or you have a qualified fitter install the awning for you.